Welcome to my art blog!
Welcome to my art blog!
This is a fun way in which I can share all we do in my art room and creative activities and lessons. Please feel free to comment or get inspired by any of the work you see!
This blog is for everyone! Students from my classes can see some of their work.
Parents can have a view of whats being done in Art class and its open to everyone to share ideas and send us some new ones as well!
So let gets Creative!
Search This Blog
Tuesday, 8 October 2013
OIL PASTELS - Try it at home!
Step By Step Instructions (fire)
1. Use the yellow oil pastel to first color the fire edges.
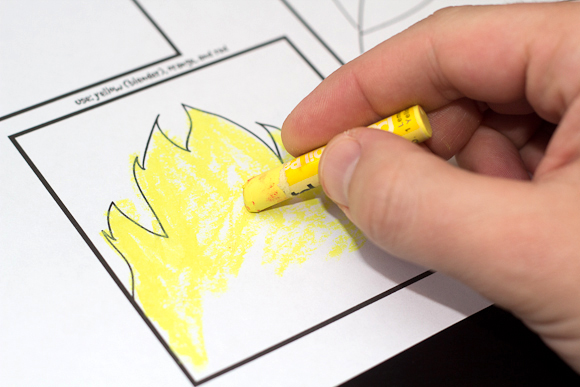
2. Then use orange to create the same fire shape, but lower than the yellow edge.
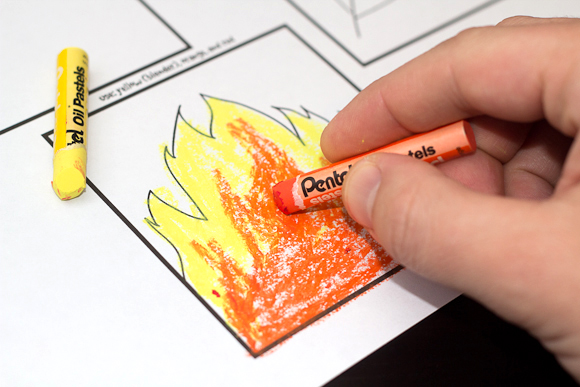
3. Next do the same with the red oil pastel. Draw the same fire shape but lower than the orange edges.
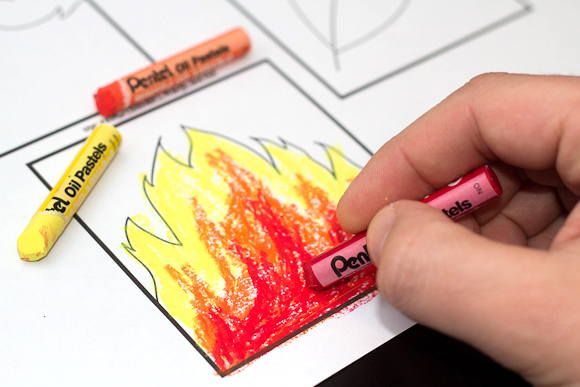
4. Then with the yellow oil pastel, go back over all the colors. This will smooth out the texture and blend all the colors together.
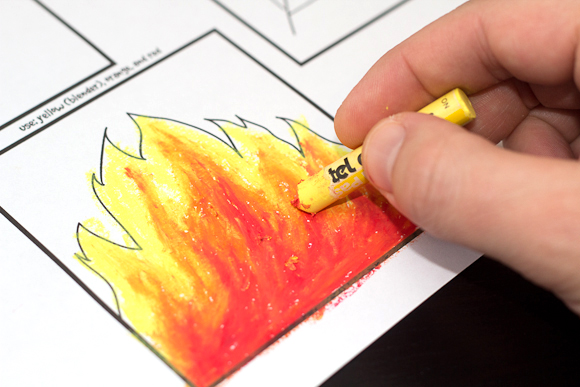
5. To do the background we switched the rule, and used the darker color (red) first. That’s fine, it’ll just give you a different (darker) result. Use the red oil pastel to quickly color in the background.
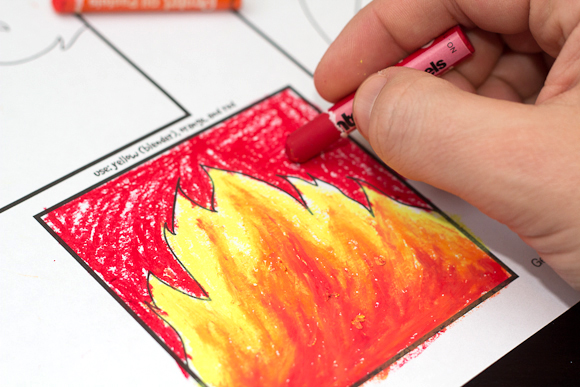
6. Then use orange (or yellow) to smooth and blend the red.
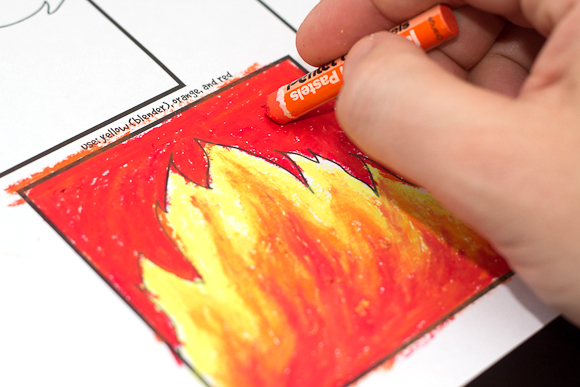
That’s it! Now experiment with it by trying different colors and see how it turns out.
OIL PASTELS - Must try it at home! A Butterfly
Oil Pastel Colors For This Project
- Yellow
- Orange
- Light Blue
- Dark Blue
- Black
General Oil Pastel Tip: Typically you want to start with the lighter colors first and end with the darker colors.
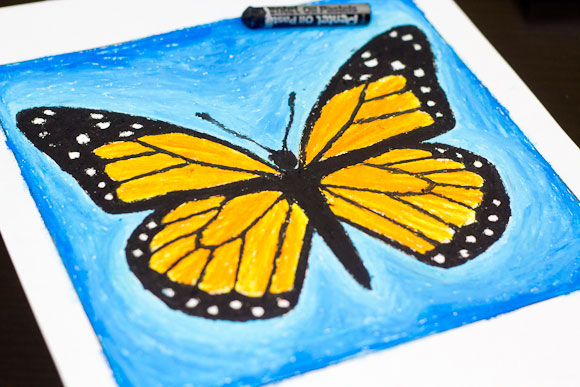
Step By Step Monarch Butterfly
1. Start with yellow and color in the internal wing shapes. Use medium pressure while coloring. Don’t worry about going over any of the printed lines.
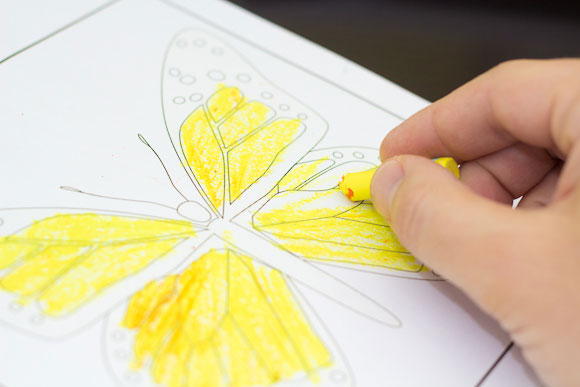
2. Build a second layer, on top of the yellow, using orange. Use medium pressure when applying this layer.
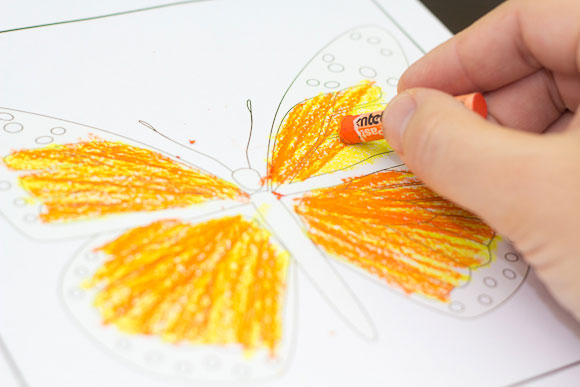
3. Next build a third layer with yellow. This time use a fairly heavy pressure when applying. This will blend the orange and yellow together, leaving an awesome smooth texture.
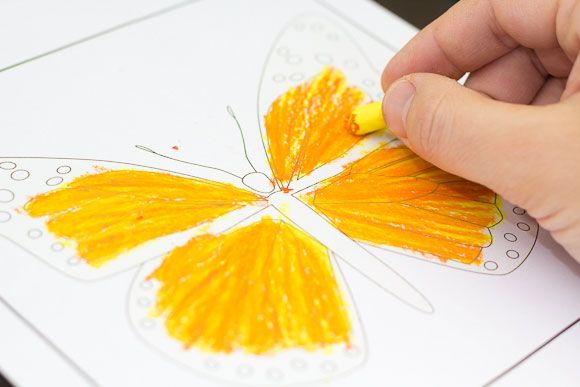
4. Now with the light blue and a medium to heavy pressure, color the back ground. We started at the edges of the wings and worked out.
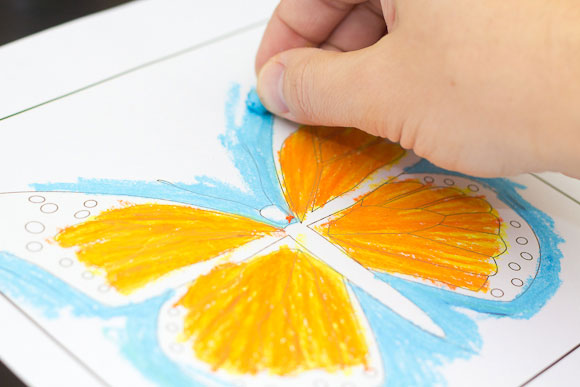
5. Then, with the dark blue build a second layer over the light blue.
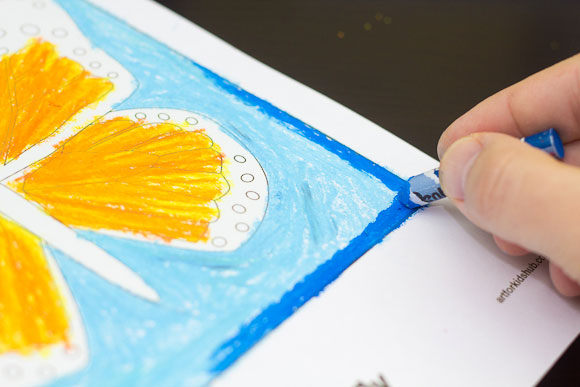
6. Start on the outside edge using a heavy pressure, then work towards the wings getting lighter and lighter.
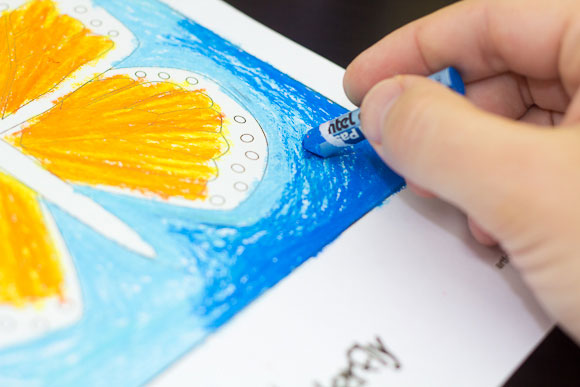
7. This is how the second layer looked, after going around the whole butterfly.
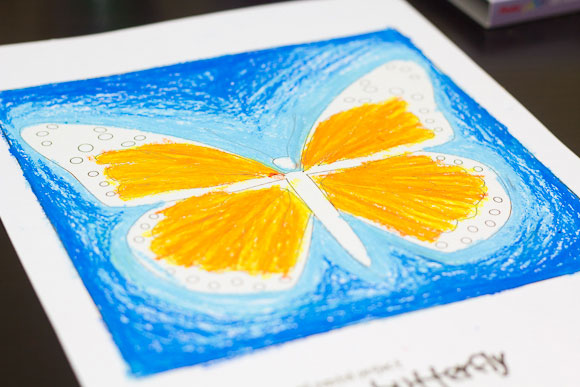
8. Then with the light blue and heavy pressure, go back over the entire background. This will blend the two blues together, making it smoother.
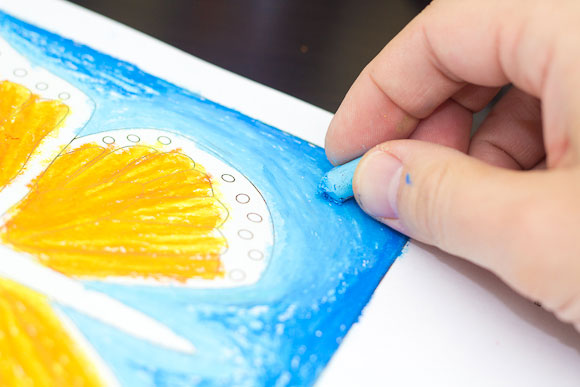
9. This is what it looked like after.
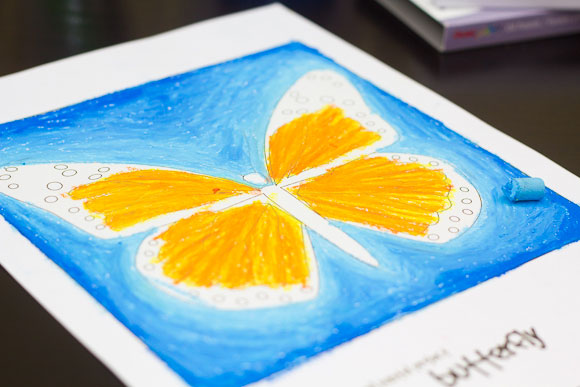
10. Now for black! Fill in the rest of the wings, while leaving the little circles white.
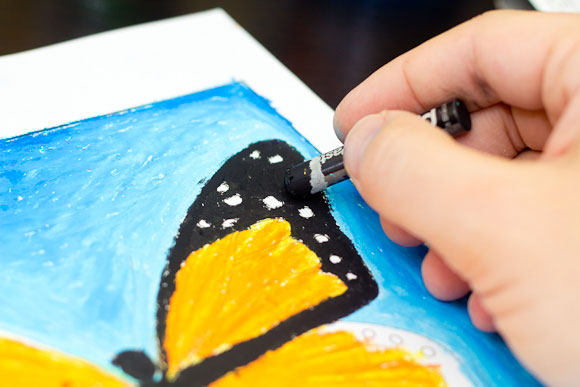
11. Then trace the lines over the orange shapes.
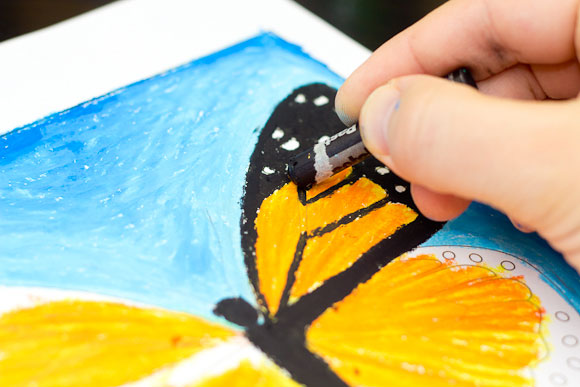
12. Finally, draw the butterfly’s antennas.
Wednesday, 2 October 2013
Tuesday, 1 October 2013
Subscribe to:
Comments (Atom)


